Keep your caravan ‘extension’ looking great and in top condition with our handy cleaning and maintenance guide
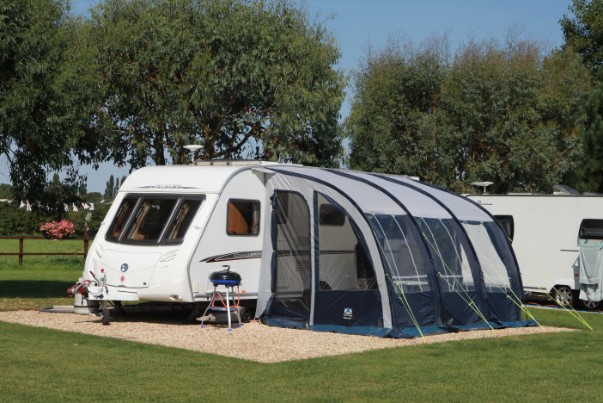
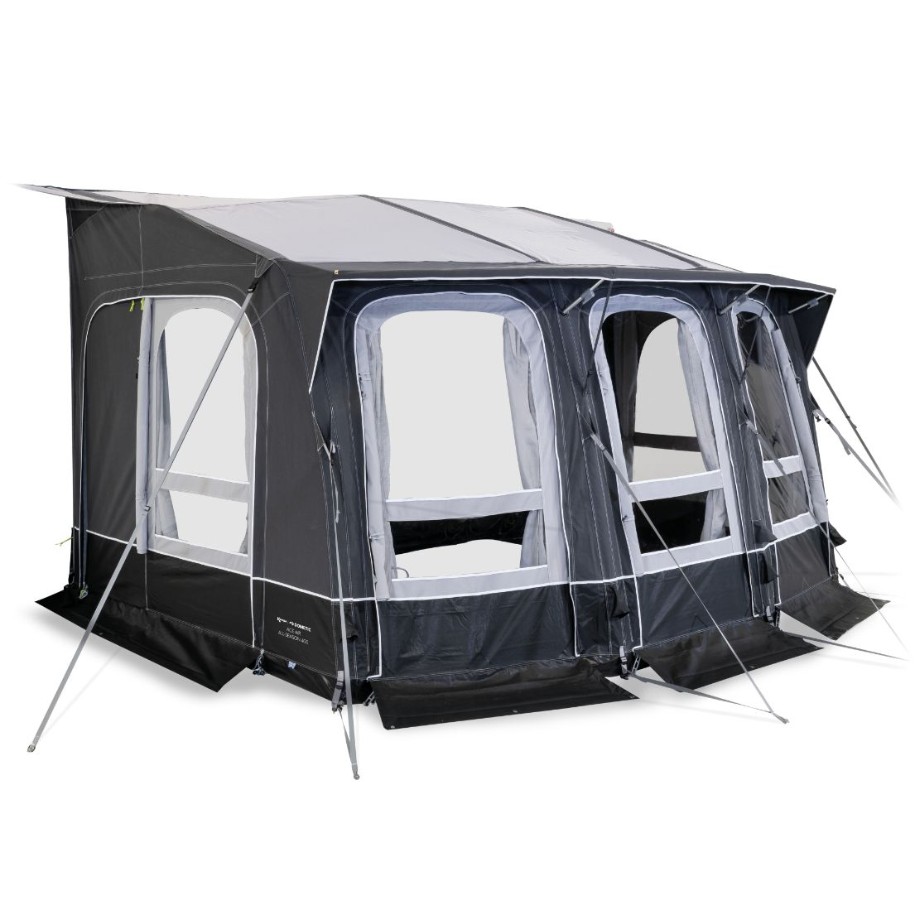
Caravan awnings are vital additions to our touring lifestyles, delivering supplementary living space and storage, and providing extra insulation when cold-weather touring.
In recent years, the design and materials technology in modern awnings has exploded, and the prices have increased too. A good-quality awning now typically costs from £600 to £3,000, so it makes sense to look after your expensive caravanning accessory, by keeping it clean and ensuring it is fully waterproof and ready for your next touring holiday adventure.
Our guide reveals the techniques and products you should consider to achieve both.
Cleaning a caravan awning
Cleaning a caravan awning is essential to maintain its appearance, keep it serviceable, and prolong its lifespan. Here’s a step-by-step guide on how to clean a caravan awning effectively:
1 Timing is crucial
Awnings should only be stored away when dry, so you’ll need to choose a dry day for your cleaning session. Ideally, you’ll have warm weather with a light breeze, as these conditions will speed up the drying process.
This means you’ll be able to see the results of your endeavours quickly, and get the awning packed away, confident that there is no damaging moisture lurking in the folds.
Start cleaning as early in the day as you can, as this will allow plenty of drying time.
2 Choose a suitable location
Awnings can be big and somewhat awkward to deal with. Even a ‘small’, two-metre porch awning can be cumbersome, so plan your cleaning session well. To work easily, you’ll need an area as big as the ‘footprint’ of the awning, with at least a metre (three feet) of space all around.
Find a level and open space to work in.
3 Spot clean or complete clean?
Okay, are you targeting one or more specific areas of dirt, grease, or grime on your awning, or are you planning a complete spring clean of it?
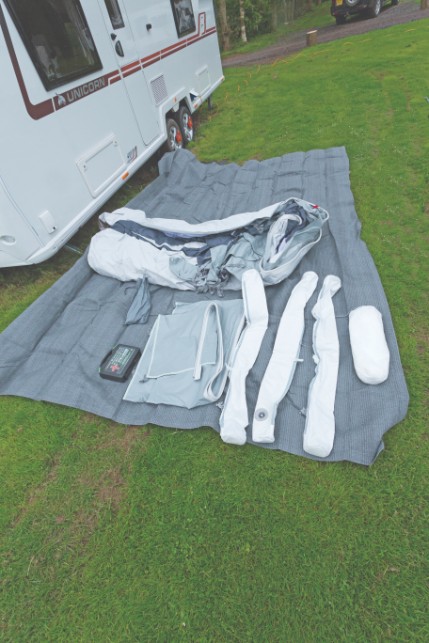
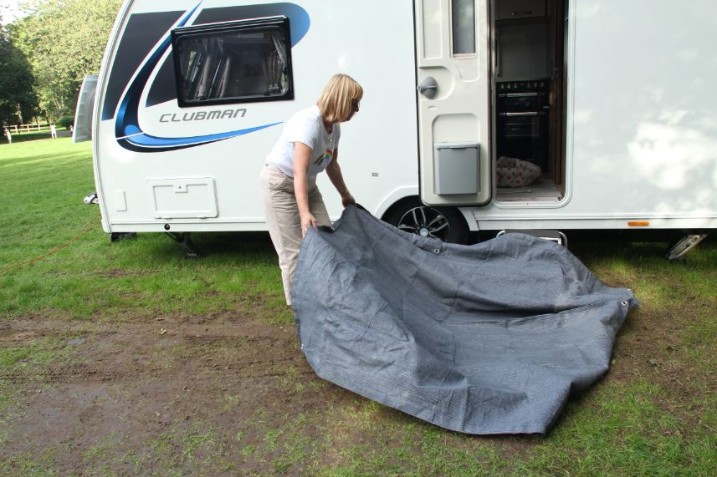
If it’s the former, you might get away with laying the awning out on the ground, or over a heavy-duty ‘washing line’. I’m talking about a very strong cord or rope, here, as awning material can weigh more than 20kg. A standard washing line won’t cut it, I’m afraid.
Take care if laying the awning out on the ground to clean it, and consider laying it on top of your awning carpet, to keep it as clean as possible.
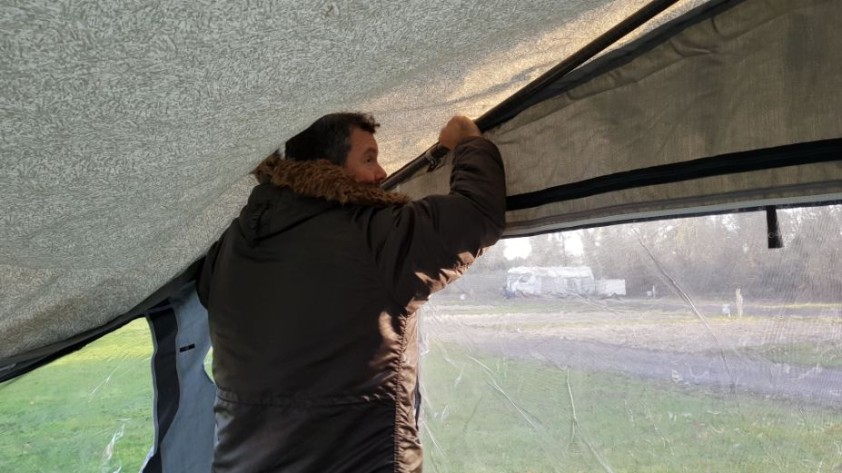
If you’re giving your awning a total wash-down (and reproofing it afterwards), you’ll be better off erecting it. This could be independent of the caravan, and, while it may take a bit of time, it’ll ease the cleaning process and really accelerate the drying time.
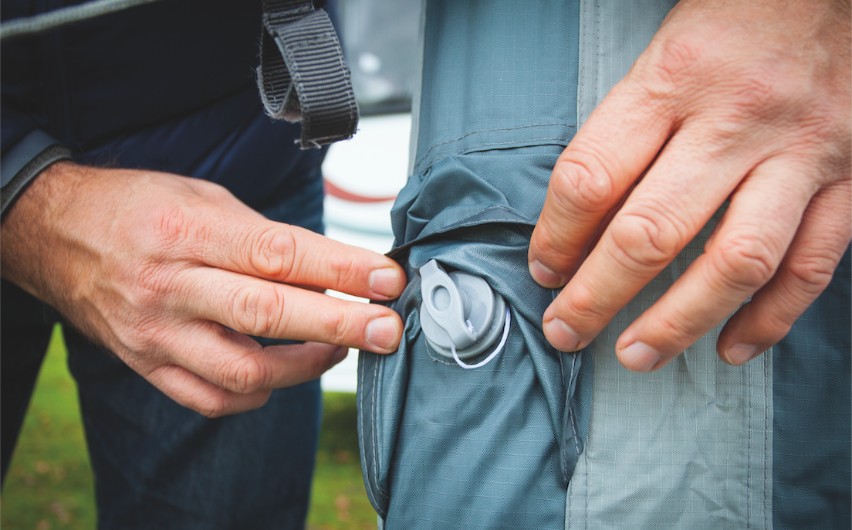
It should take just a few minutes to blow up an air awning, but a bit longer to build a pole awning, which will need four vertical poles, i.e.: including the two that go next to the side of the caravan. Once erected, it makes sense to peg both down with four ground pegs and two or four guy-lines.
4 Remove loose debris
Once erected, start the cleaning process by lightly brushing any loose dirt, leaves, or other debris off the awning fabric with a soft brush or dry cloth. This will help to prevent any abrasive particles from damaging the fabric during cleaning.
5 Prepare the cleaning solution
Next, you need to prep the detergent solution. This may be a pre-mixed, ready-to-spray, mild detergent, or you may need to dilute a concentrate in a bucket of water. Follow the awning manufacturer’s instructions for the correct dilution.
6 Test a Small Area
Before applying the cleaning solution to the entire awning, it’s worth testing it on a small, inconspicuous area to make sure it doesn’t cause discoloration or damage. You may want to leave it for 30 minutes to check for any delayed effects.
7 Pre-treat stubborn marks
Consider pre-treating any grease or dirt marks that look like they may be stubborn with a specialist cleaner or a slightly stronger dilution of the detergent mix. Allow 20-30 mins for the solution to take effect.
8 Clean the awning fabric
Using a soft cleaning brush, mitt, or sponge, gently scrub the awning fabric with the cleaning solution. Start from the top and work your way down. At this point, you can pay extra attention to those particularly badly soiled or stained areas.
9 Rinse thoroughly
Using a hose pipe or a bucket of clean water, rinse the awning thoroughly, removing all traces of the cleaning solution before it dries, and making sure there’s no soapy residue left on the fabric.
In warmer weather, you may want to clean one panel at a time, to limit the risk of the cleaning solution drying on the fabric.
Naturally, all this is much more difficult with the awning laying on the ground.
10 Check for stubborn marks
With the awning washed down, you’ll need to let it dry (at least partially) to see if your efforts have been successful in removing any marks and blemishes.
11 Re-treat any persistent marks
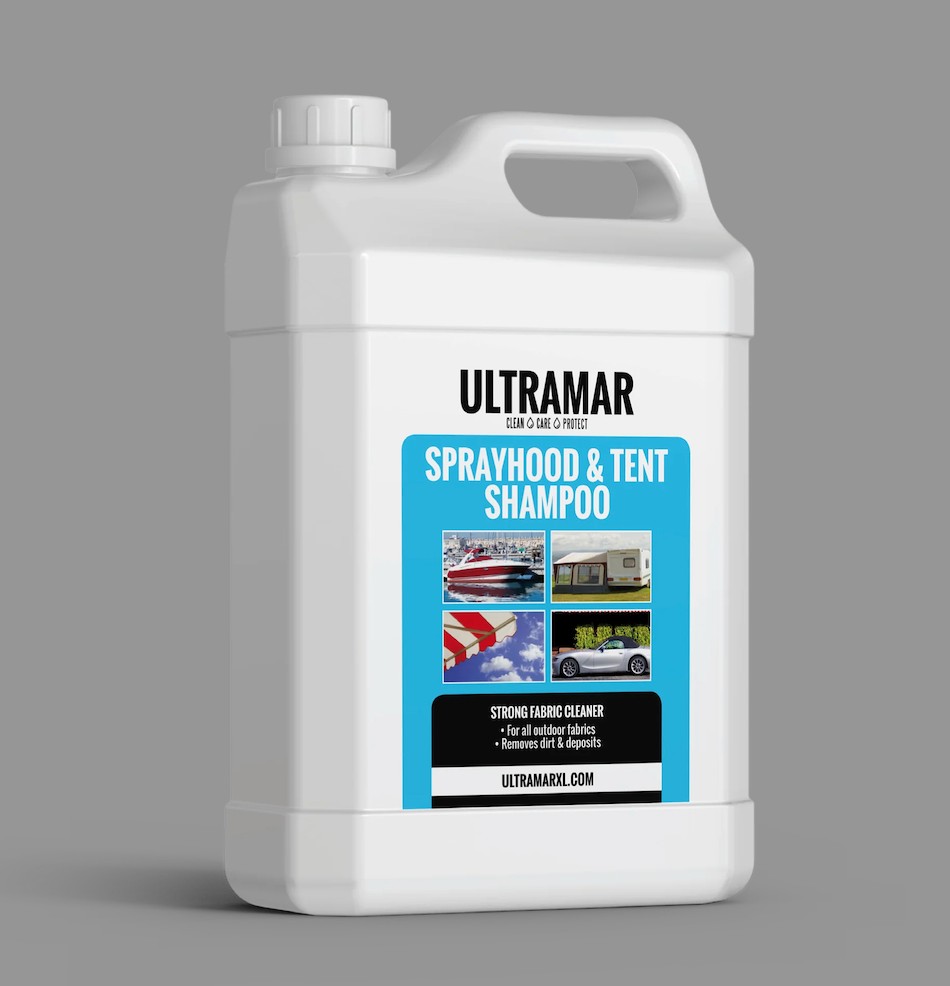
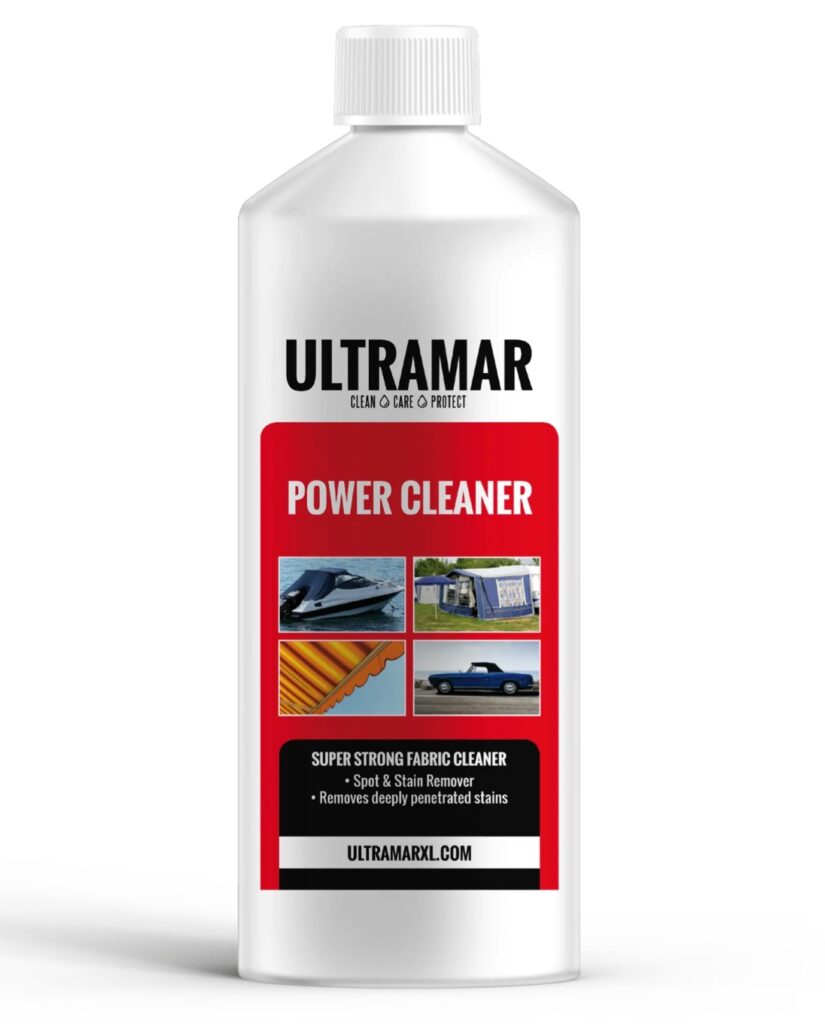
If you find that some marks are still visible, you could retreat those areas with a strong dilution of cleaning fluid, or seek out a stronger detergent such as Ultramar’s Power Cleaner. Use these solutions as instructed and be mindful that you may cause fading of the awning material if you overdo it.
12 Dry the awning
Once you’re satisfied with your cleaning efforts, it’s time to dry the awning.
As mentioned, this is easiest with the awning erected. If it’s laid out on the ground, you may need to lift and rotate it sporadically to make sure all the sides dry out.
On a warm, breezy day, an erected awning should dry out within an hour or two.
Check seams and folds for dryness – you must NOT put the awning away with any wet or damp areas, as this will inevitably cause mildew and mould to grow on it.
13 Roll it up
Once you’re happy that the awning is completely dry, you can dismantle it. Make sure the ground below has also dried out before you do this, and consider collapsing it onto the awning’s carpet for protection.
Now, carefully roll it up, taking care to crease the plastic windows as little as possible. Once it is compact enough, it can go back into its bag.
14 Reproofing your awning (Optional)
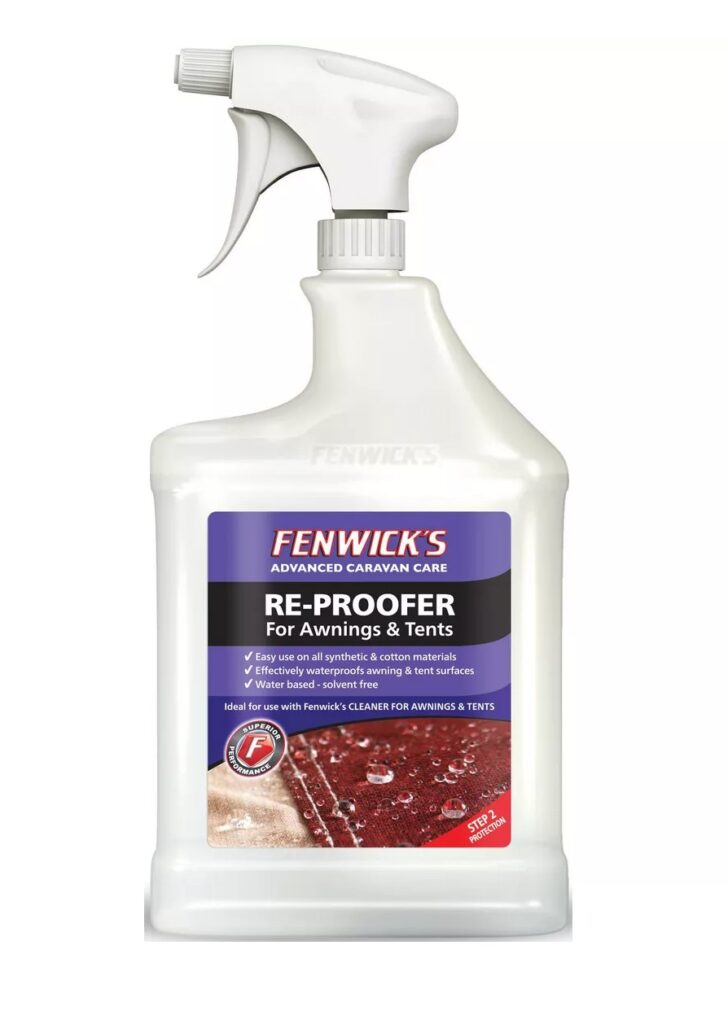
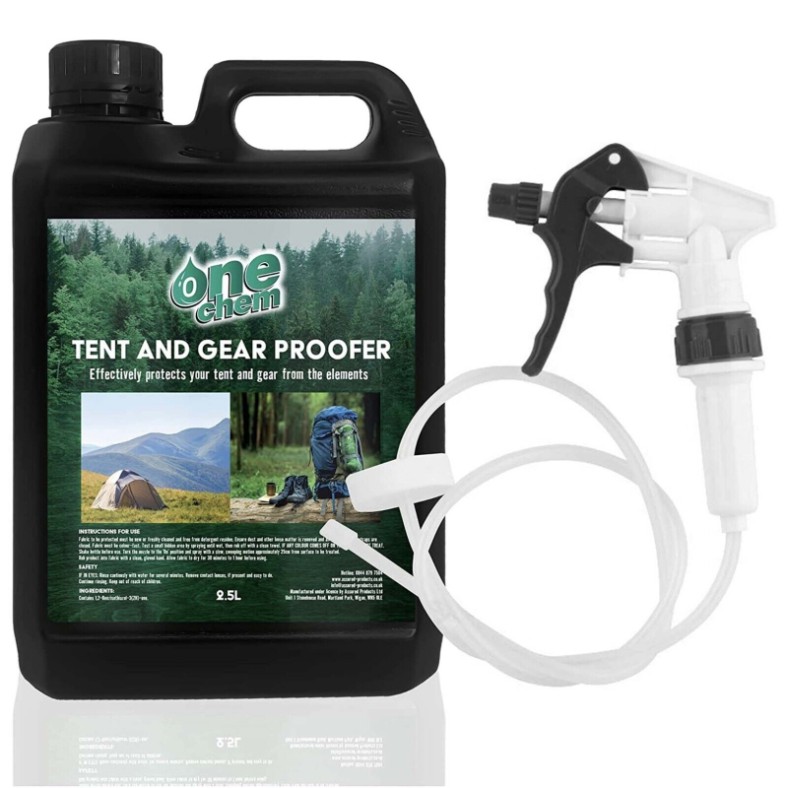
Once your awning is clean and dry, you have the option of reproofing the material with a specialist reproofing solution. These come in spray-on and paint-on forms, from a range of manufacturers. You’ll know if this is needed, when your awning shows signs of water not beading on the fabric.
Consider using a water-based solution to proof an awning as it won’t smell as strongly as solvent-based ones, and is better for the environment. The reproofer shouldn’t affect the breathability of any fabrics it’s used on, e.g.: awnings, tents, jackets, etc. Some also provide UV protection for the awning fabric.
Always follow the manufacturer’s instructions for application and coverage.
15 Awning cleaning tips
- Don’t use harsh or abrasive cleaners, as they can damage the fabric and the waterproof coating.
- Avoid using a pressure washer, as the high-pressure stream can damage the fabric and the seams.
- Regular maintenance, including brushing off debris and keeping your awning clean and reproofed, can help to prolong its life.
- Try to avoid camping under trees on campsites, due to the damaging tree sap they produce, and the higher risk of bird muck.
16 Awning cleaning materials and accessories
You will need…
- A mild detergent or specialist awning cleaning product
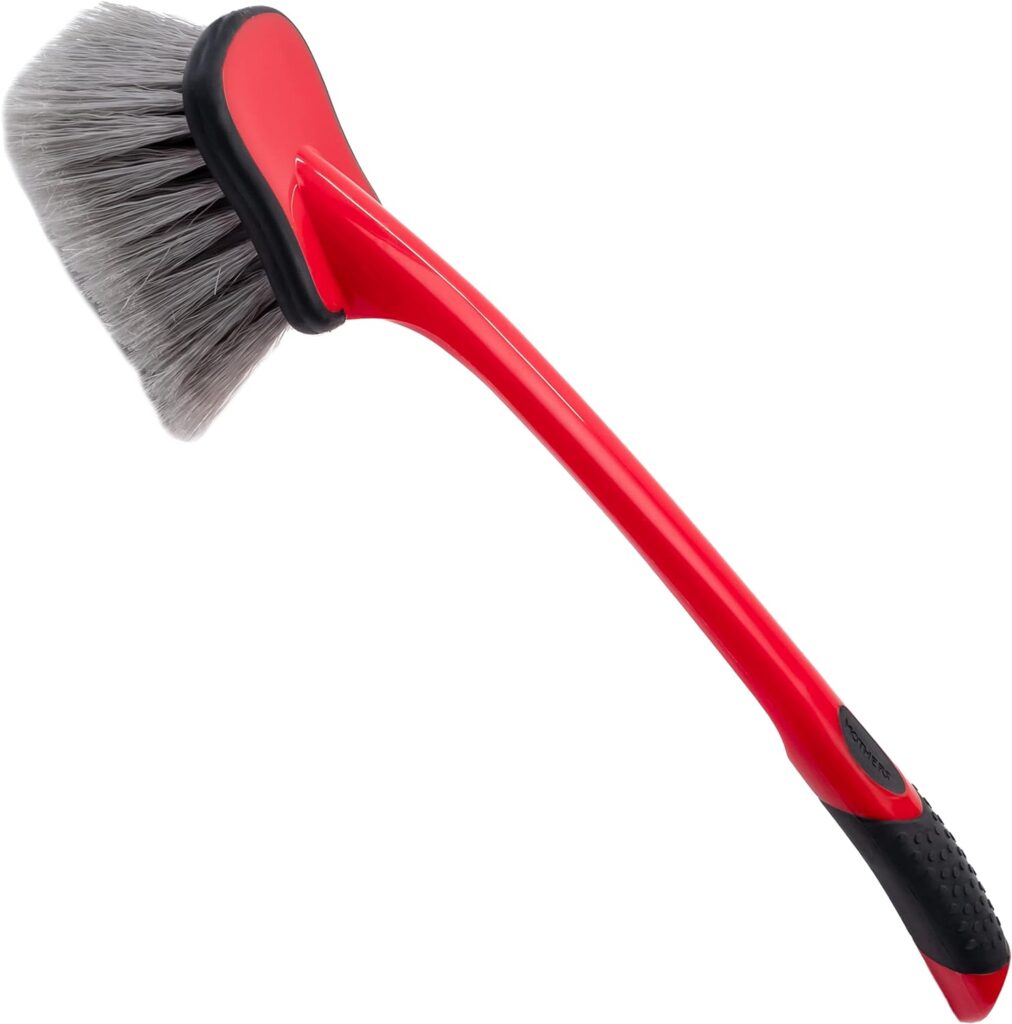
- A (long-handled) soft brush, mitt, or sponge
- A hose or bucket of warm water
- Soft, clean cloths or microfibre towels
- Awning reproofing solution (optional)
Awning cleaner contacts
Fenwick’s at Raymond James Caravans or in-store
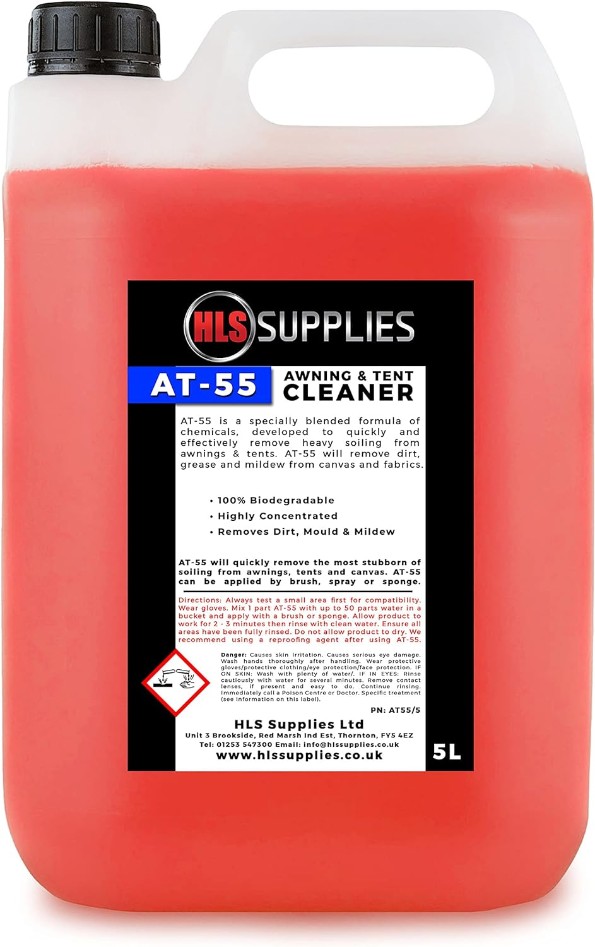
HLS Supplies hlssupplies.co.uk
Ultramar ultramarxl.com
Onechem assured products.co.uk
Fabsil fabsil.com
The author
John Sootheran is a seasoned caravan and motorhome journalist who previously edited Caravan magazine, and now writes for Britain’s best-selling caravan magazine, Practical Caravan, along with Practical Motorhome and the Camping & Caravanning Club magazines. He also works with a number of major caravanning brands.


